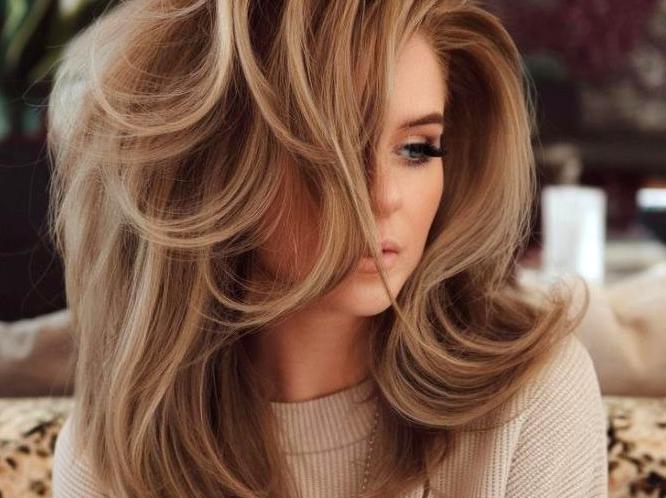
Achieving a salon-quality blowout at home is highly attainable with the right techniques and tools. With a blend of practice, quality products, and the correct equipment, you can create that luscious, voluminous look without stepping foot into a salon. Many people shy away from attempting a blowout because it may seem daunting, but this guide breaks down the process into manageable steps. Whether you’re preparing for a special occasion or simply want to look your best, mastering a blowout at home can be a game-changer for your beauty routine.

Contents
Essential Tools for a Perfect Blowout
The first step in achieving a salon-level blowout at home is to gather the essential tools. Investing in quality tools can elevate your results significantly. The key items you’ll need include:
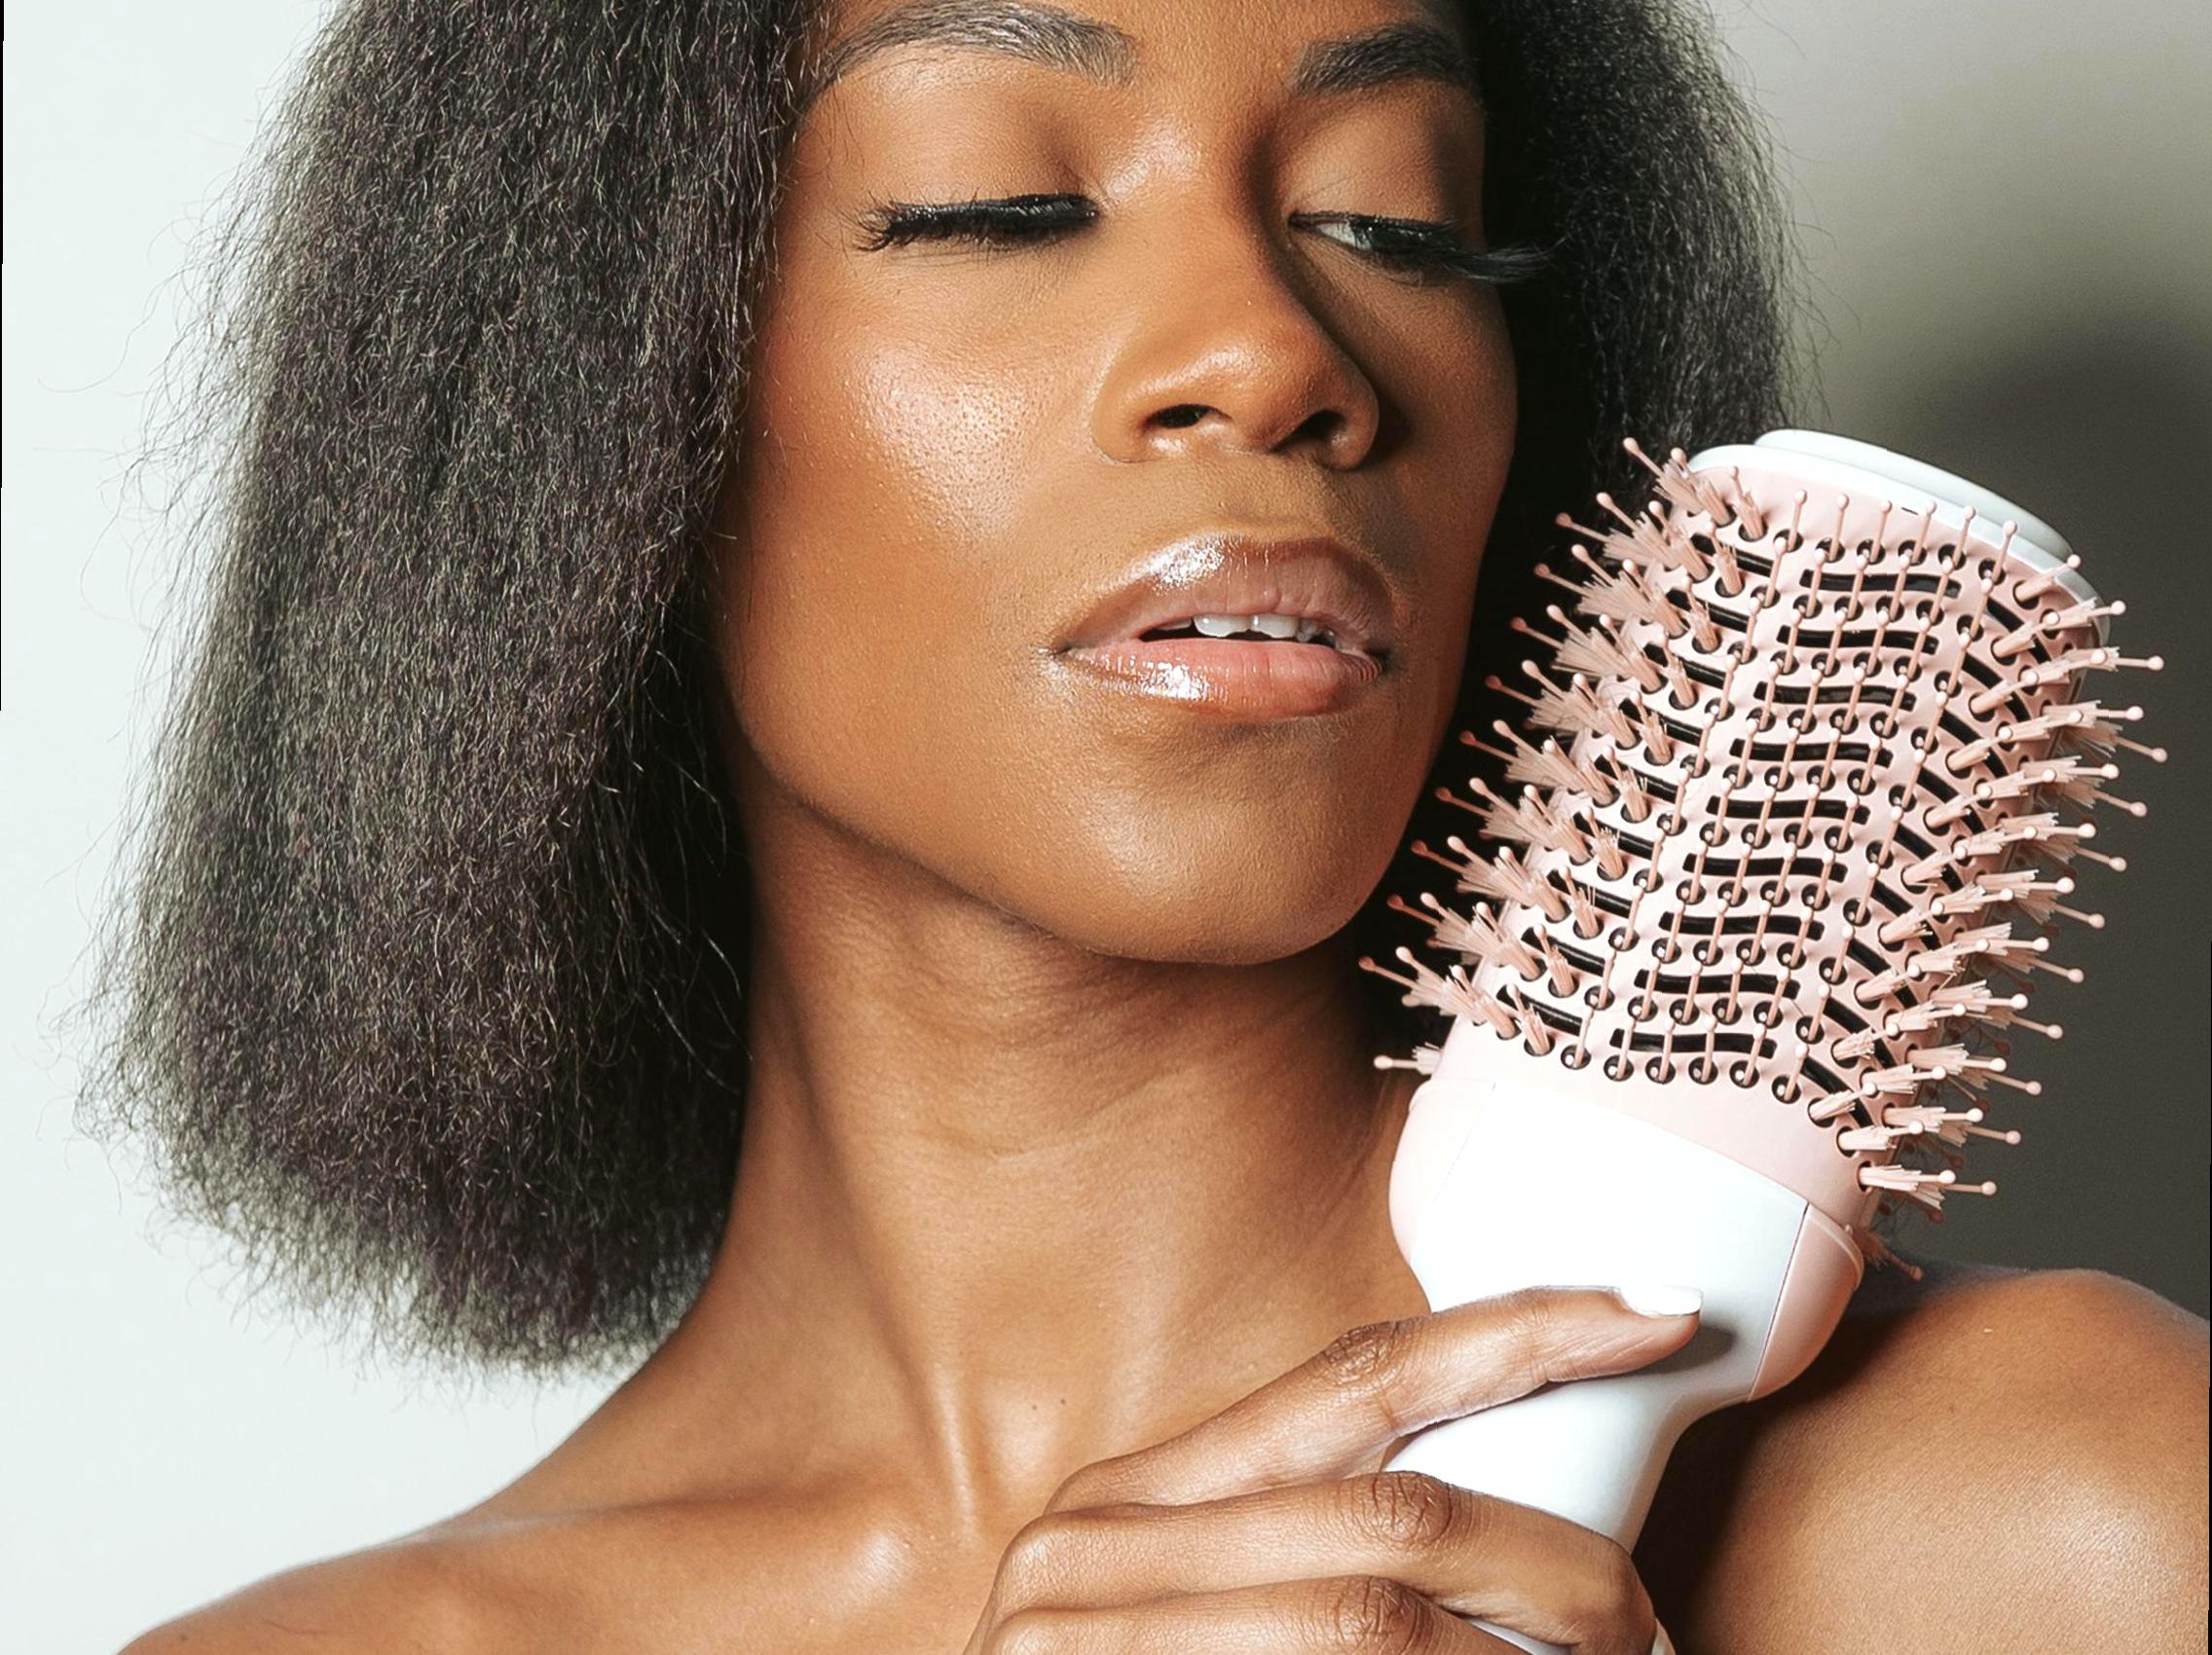
- Hairdryer: Opt for a professional-grade hairdryer with multiple heat and speed settings.
- Round Brush: A large round brush helps to create volume, while a smaller brush can help with curls and waves.
- Heat Protectant Spray: Protect your hair from damage by applying a heat protectant before you start.
- Hair Clips: These are essential to section your hair effectively as you blow dry.
- Finishing Products: Serums, mousses, or sprays help to add shine and hold to your finished style.
Having the right tools on hand is crucial for minimizing damage while enhancing the overall look of your blowout. Each tool serves a specific purpose, making it easier to style your hair and achieve that coveted salon finish.
Preparation: Washing and Drying Your Hair
Before you even pick up your hairdryer, proper preparation is key. Start by washing your hair with a good quality shampoo and conditioner that suits your hair type. Once you’ve rinsed thoroughly, gently towel-dry your hair to remove excess moisture.Less water allows for better styling control, so it’s important not to soak or rub your hair harshly. After towel-drying, apply a heat protectant spray evenly from roots to ends. This step helps to safeguard your hair from heat damage while also adding a layer of moisture.
Next, detangle your hair using a wide-tooth comb. This removes knots without causing breakage and sets you up for a smoother blow-dry. Ensure your hair is at least 70% dry before you begin blow-drying; this can be accomplished using air drying or a quick session with your dryer on a low setting. Proper preparation lays the foundation for a successful blowout and makes the styling process much easier.
Sectioning Your Hair: The Secret to Volume
Effective sectioning is a crucial step that can significantly impact the results of your blowout. Begin by dividing your hair into workable sections. Typically, you can create three main sections: the lower, middle, and top portions. Use your hair clips to secure each section, starting from the lower parts and working your way up. Sectioning allows you to concentrate on one area at a time, ensuring that each part gets equal attention and heat to create volume and smoothness.
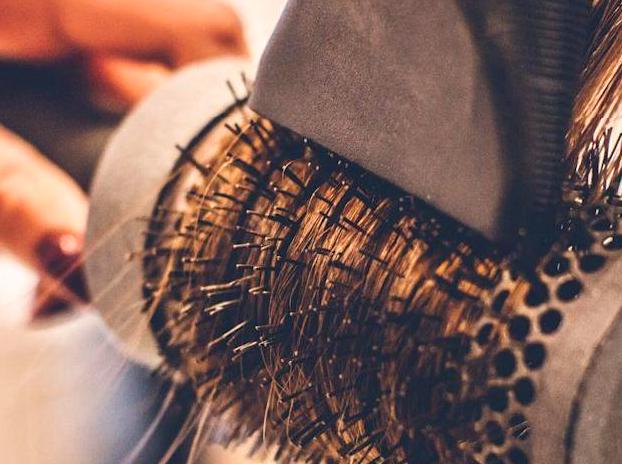
When working with the lower section, take smaller 2-inch sections for drying, which makes it easier to manipulate with your round brush. Wrap the hair around the brush and blow-dry it from the roots to the ends while pulling gently. Repeating this technique for each section will help amplify the natural volume of your hair, especially when using a larger brush for the top segments. Brush through each section multiple times before moving on; this contributes to an even finish that exudes shine and smoothness.
Blow-Drying Technique for the Best Results
The blow-drying technique is where the magic happens. Start with one section of hair, taking care to keep the dryer at least six inches away from your hair to prevent heat damage. As you blow-dry, aim the nozzle down the hair shaft; this directs air flow in a way that smooths the cuticle, allowing for a shinier finish. It’s essential to use the brush effectively—roll it under while continuing to apply heat, creating volume at the roots.
Once you’ve finished drying each section, turn your hairdryer to the cool setting for a few seconds to set your style. This technique locks in the volume and smoothness you’ve created, leading to a longer-lasting blowout. Don’t forget to repeat the process on each of the three sections, ensuring that every layer of hair is accounted for. Mastering this technique will soon have you achieving runway-ready styles every time.
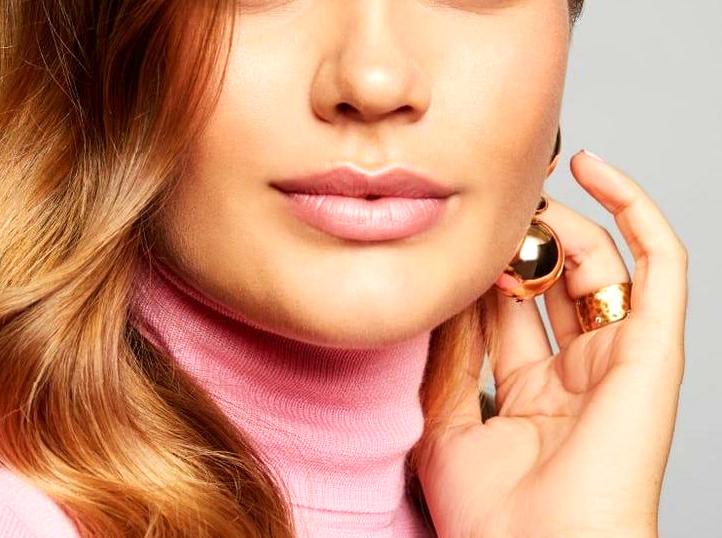
Finishing Touches and Tips for Longevity
Once you have completed your blowout, it’s time to focus on the finishing touches. Apply a lightweight serum or finishing spray to help tame any frizz and add extra shine to your locks. If you’re looking for hold, a light hairspray can be dispersed evenly throughout the hair to keep your style intact without making it stiff or crunchy. It’s essential to use products sparingly; too much can weigh your hair down and diminish the volume you’ve worked hard to achieve.
For added longevity, consider sleeping on a silk pillowcase or using a loose bun or braid to prevent tangling. This will ensure that your blowout stays fresh for as long as possible. Lastly, remember to avoid extreme weather conditions when practicable, as humidity can dampen your efforts, resulting in frizz and loss of shape. With these finishing touches and tips, your salon-worthy blowout will not only look fantastic, but it will also last longer too.
Conclusion
Achieving a salon-quality blowout at home doesn’t have to be a difficult or overwhelming task. With the right tools, products, and techniques, you can replicate that glamorous finish without stepping out of your home. Start by preparing your hair properly, invest time in sectioning, and skillfully use your dryer and brush to create volume. Finally, don’t forget those finishing touches that add shine and hold. With practice, you’ll soon master the art of blow-drying, impressing yourself and everyone around you with your newfound styling skills.
FAQs
It’s generally safe to blow-dry your hair 1-2 times a week, depending on your hair type and health. Always use a quality heat protectant to mitigate damage.
2. What type of brush is best for a blowout?
A round brush is ideal for creating volume and curls. A larger round brush works best for straightening and adding overall body to your hair.
3. Can I achieve a blowout without a round brush?
While a round brush is highly recommended, you can use your hands or a paddle brush to smooth your hair. However, the result may have less volume.
4. How can I maintain my blowout overnight?
To maintain your blowout, sleep on a silk pillowcase and consider loosely braiding or putting your hair in a bun to reduce tangling.
5. What products should I avoid when blow-drying my hair?
Avoid heavy or oily products, as they can weigh your hair down and make it appear greasy. Stick to lightweight serums and sprays to keep your blowout looking fresh.